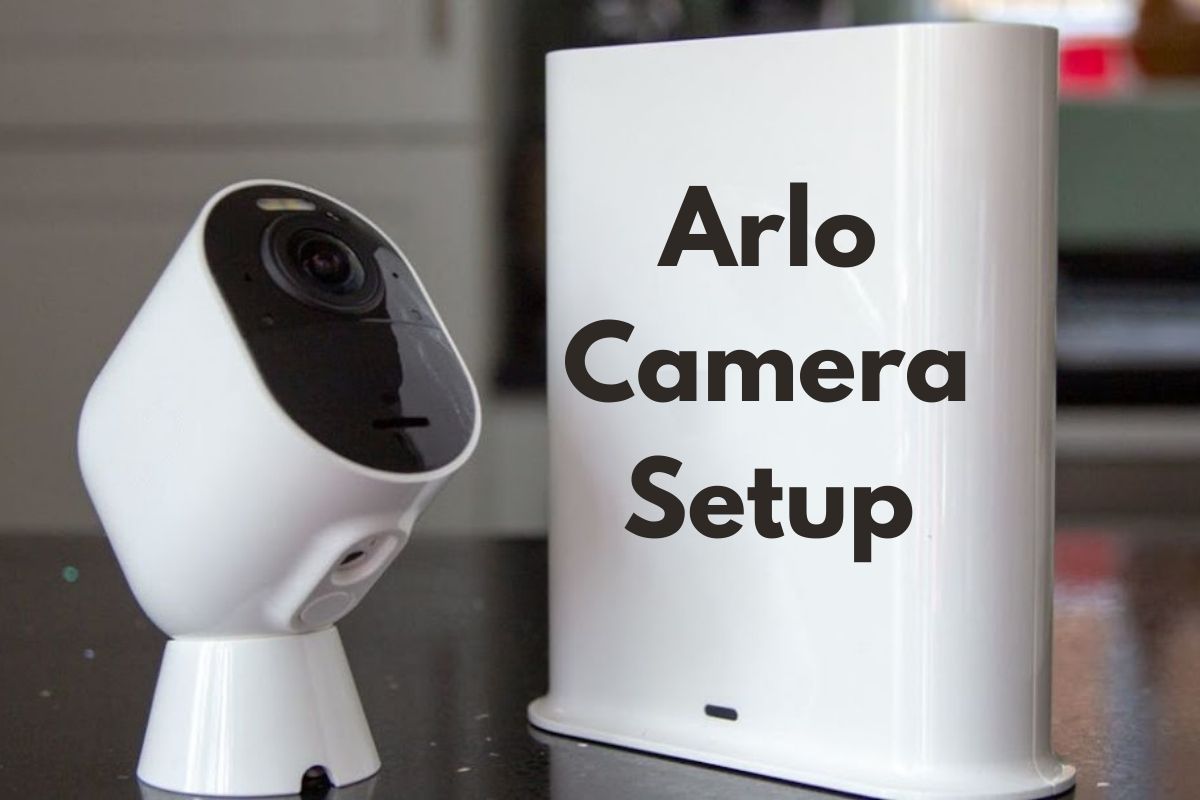
A Complete Guide For Arlo Camera Setup
Do you want to expand the security of your residential and commercial premises? Are you feeling insecure? If so, it will be better for you to do the Arlo camera setup. Once you go through this guide, you will be aware of all the steps involved in the procedure of setting up an Arlo camera. Apart from that, it will also be possible for you to be familiar with the way to set up an Arlo camera without a base station.
Are you curious to be aware of the methods of installing and configuring your Arlo camera as per your requirements? If yes, you are in the right place. In this blog post, we will let you know about all the details concerned with setting up your Arlo camera more effectively.
Keep reading this blog carefully…………
Why Choose Arlo Cameras?
Honestly speaking, Arlo cameras offer a multitude of features that make them an ideal choice in the smart home security market. Key benefits that this surveillance system offers are mentioned as follows –
-
Wireless Connectivity:
For Arlo cameras, there is no need for cumbersome cables and the installation process is seamless.
-
High-Quality Video:
Most of the models of Arlo cameras offer crisp HD or even 4K video resolution. It is helpful in superior monitoring.
-
AI-Powered Alerts:
With the help of the Intelligent motion detection feature, you can minimize false alarms. In addition to this, you can also confirm precise notifications.
-
Integration with Smart Systems:
There are so many platforms that allow you to work with your Arlo cameras. These platforms are – Alexa, Google Assistant, and Apple HomeKit.
-
Customization:
Ranging from activity zones to video recording schedules, you can customize Arlo cameras as per your preferences.
How To Fix Arlo Camera Setup
Now is the right time to help you to be aware of the steps to set up your Arlo camera in an efficient manner. So, without wasting even a single second, you are required to have a glance at the step-by-step process to set up the Arlo camera. Let’s get started!!
1. Unboxing and Pre-Setup
- In the first step, you need to open the package.
- After that, you have to make sure that every component is present at the spot for setting up the camera. The list of the components also includes the camera itself.
- Thereafter, open the package and confirm that all components are present. It includes – the camera, battery, power adapter, and a quick start guide as well.
- In the last step, charge the battery completely with the utilization of the power adapter provided to you. Apart from that, there is a high need to confirm the uninterrupted installation of your camera.
2. Download the Arlo App
- Initially, you have to go to the App Store if you have an iOS device. On the other hand, you have to explore the Google Play Store for the Android devices you have.
- In the next step, proceed to download the Arlo app.
- Later on, you will have the requirement of creating an Arlo account if you don’t already have one. On the contrary, you can also log in to your existing account.
3. Adding a New Device
- At the beginning of the process, you need to open the Arlo app.
- Now, choose “Add New Device.”
- Finally, you have to select your camera model from the list that is already provided to you.
4. Syncing the Camera with the Base Station
- First of all, place the camera within one to three feet of the base station.
- Next, press the “Sync button” on the base station, you have to hold this button until the LED starts blinking.
- After that, press the “Sync button” on the camera. The LED of the camera should blink blue. It will indicate that your camera has successfully been paired.
5. Positioning the Camera
- After accomplishing the syncing procedure, you may use the mobile app to view the camera feed. The best part is that you can view it in real-time as you exactly position it.
- Now, you will be able to place the camera in a location. It will surely provide you with a clear view of the area that you want to monitor.
- Later on, you need to confirm that the camera is secured firmly. You should have an idea that it is all because of the usage of the provided mounting hardware to you.
Steps for Arlo Camera Setup Without Base Station
The latest model of Arlo camera, namely – Arlo Pro 4 or Arlo Essential cameras. It allows you to direct connection to your Wi-Fi network without a base station. Here is how you can complete the process of setting up your Arlo camera without using a base station. Let’s check out how you can do it –
1. Check Compatibility
At the beginning of the Arlo camera setup process, you need to make sure that your camera model is supportive of Wi-Fi setup. For this, you need not have any requirement for a base station. This option is available for some specific standalone Arlo cameras.
2. Prepare for Wi-Fi Connection
- Initially, cross-check that your Wi-Fi network operates on the 2.4 GHz band. Because not all Arlo cameras are not completely compatible with 5 GHz networks.
- Next, you need to make sure that your Wi-Fi password is easy to access. Later on, you also have the requirement to confirm that the signal strength is strong enough at the installation site.
3. Connect the Camera to Wi-Fi
- Firstly, open the Arlo app.
- Now, choose “Add New Device.”
- Select your camera model.
- After that, follow the on-screen instructions.
- Thereafter, when the prompts will be visible to you on the screen, you need to connect your camera to your Wi-Fi network. For this, you have to enter the SSID and password.
- In this step, utilize the QR code that is being displayed to you on your phone. It will enable you to pair the camera.
- Finally, you need to hold the camera up to the screen. You have to hold the camera until you hear a chime that indicates you have a successful connection.
4. Test and Install
- In the very first step, cross-check that your camera is working properly. Is it possible for you to do this by verifying that there is a live feed in the Arlo app?
- After accomplishing this step, you need to mount the camera securely in the perfect location.
Note: To be honest, the above-mentioned Arlo camera setup without base station method is perfect for users like you. Because you are the one who was looking for the simplest installation procedure with fewer devices.
Troubleshooting Common Setup Issues
In this section, you will have an overview of the reliable and effective methods to fix common setup issues. So, without much delay, let’s move ahead to walk through the troubleshooting methods mentioned as follows –
- Make sure that the Wi-Fi signal is strong and stable.
- Restart your router.
- You can also try to reconnect the camera
- Try to keep the camera within range of the base station.
- Follow the step-by-step process to reset the camera
- Confirm that you are utilizing the advanced version of the Arlo app
- Clear all app caches
- Lastly, you can reinstall the camera if it is necessary for you.
Wrapping-up
In short, by following the steps outlined in this guide, you will ensure a hassle-free Arlo camera setup. This setup will completely be customized to the requirements of your home and your business as well.
Also Read : Arlo Camera Not Recording